


Guidelines are one of the main content types in the Cyberday. Tasks might require certain guidelines to be distributed to the users. You can activate either pre-made or your individual guidelines, which will be shown to your employees in the Guidebook.
Activating a guideline
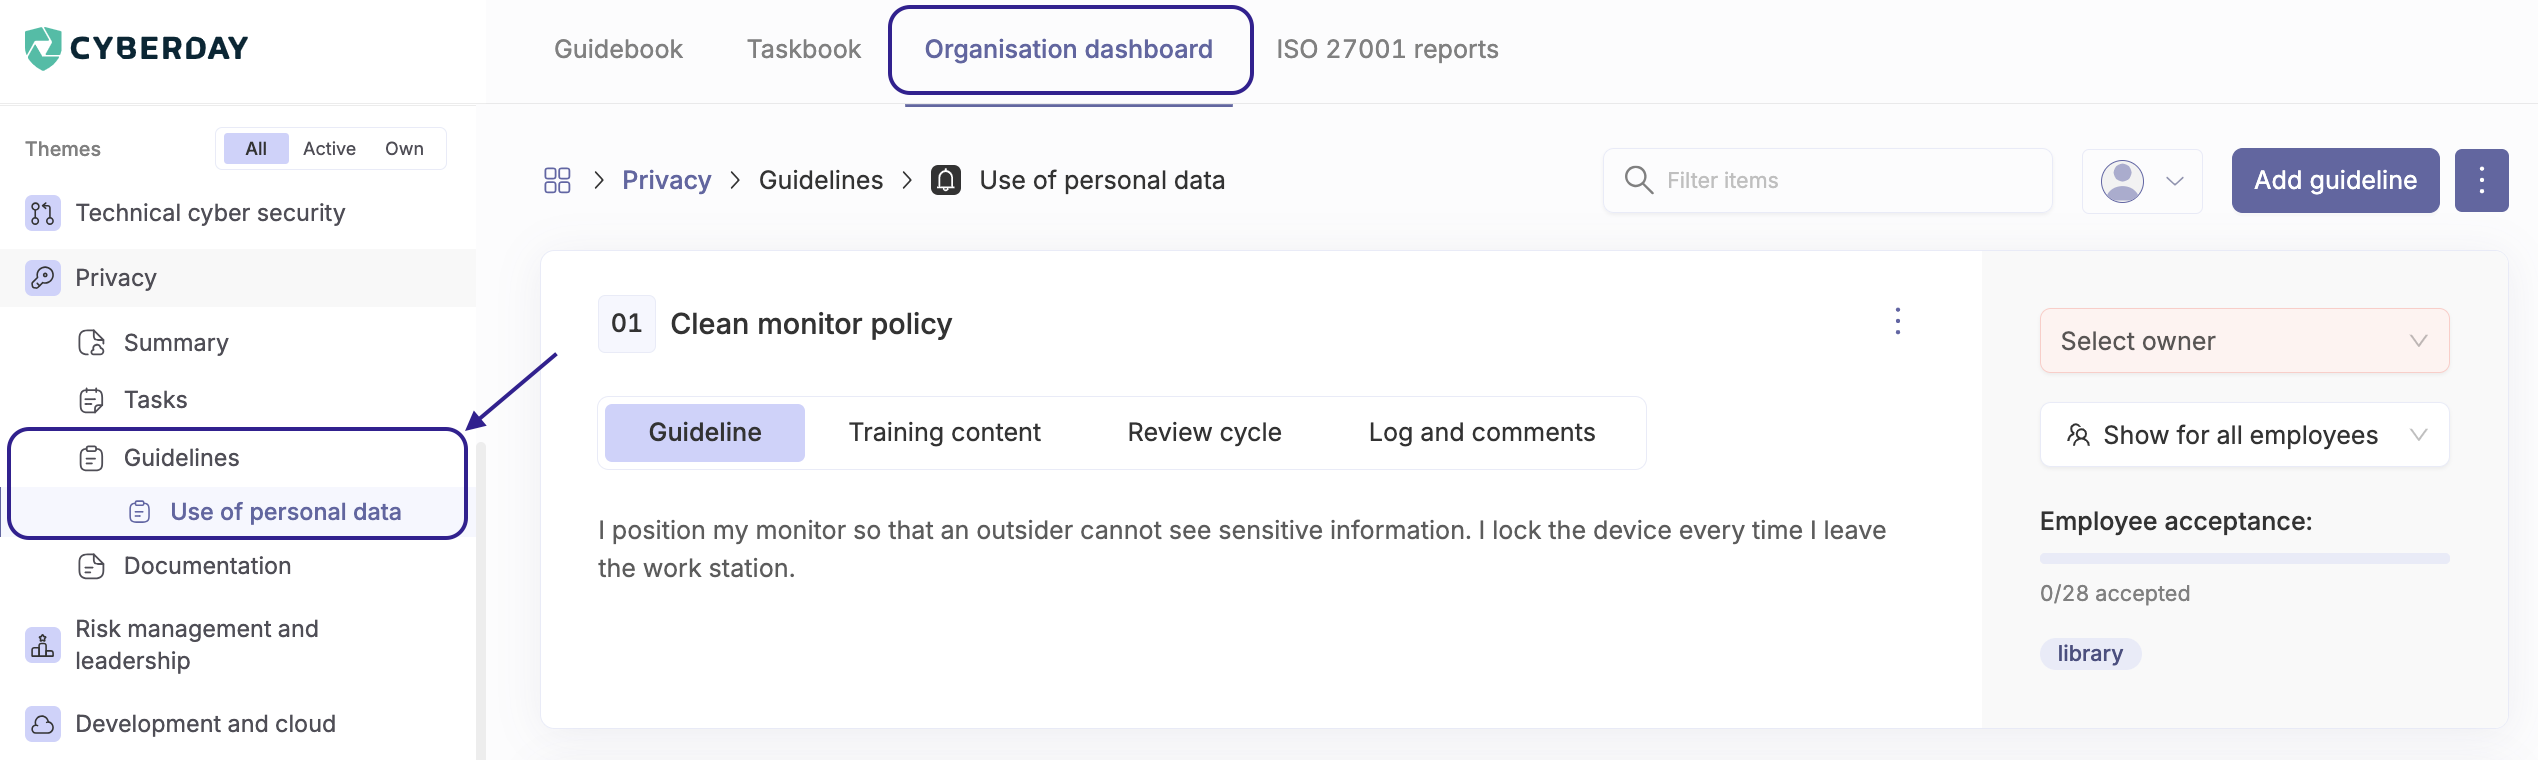
- Navigate from the Organisation's Dashboard to the wanted theme
- Select "Guidelines"
- Complete the training content in the "Training content" field
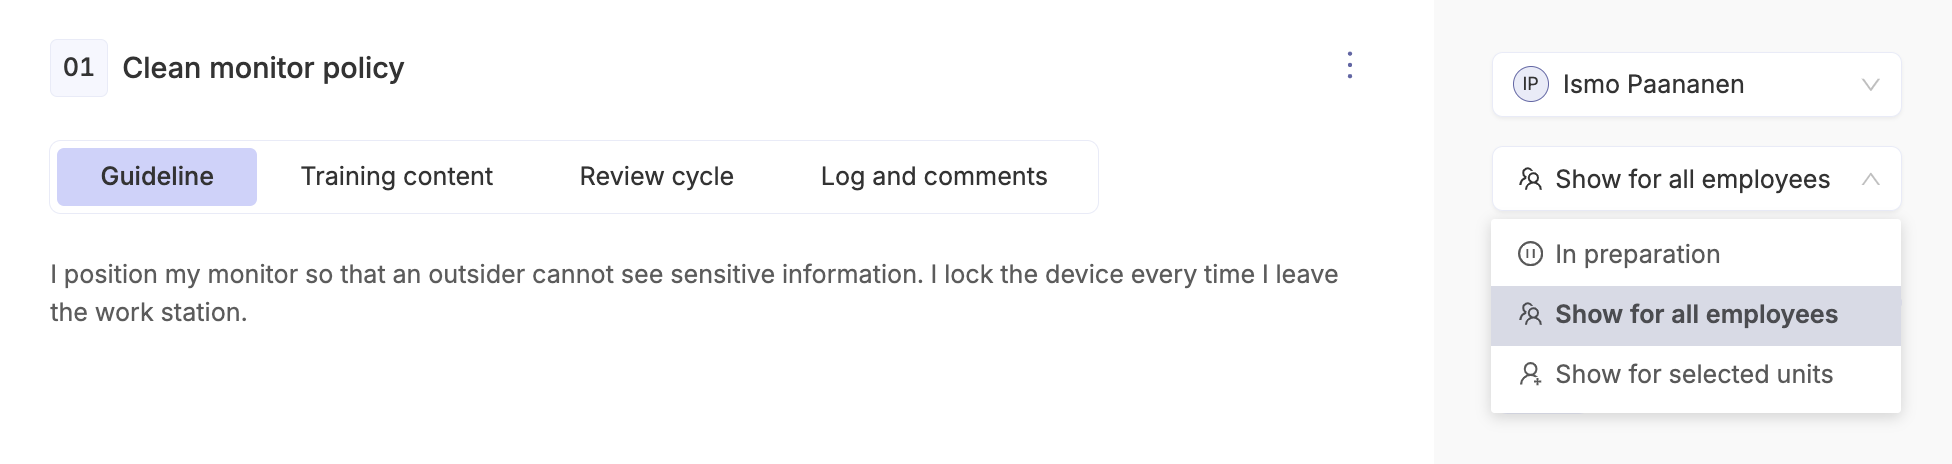
- Set the distribution of the guideline to all or to specific units
Creating your own guideline
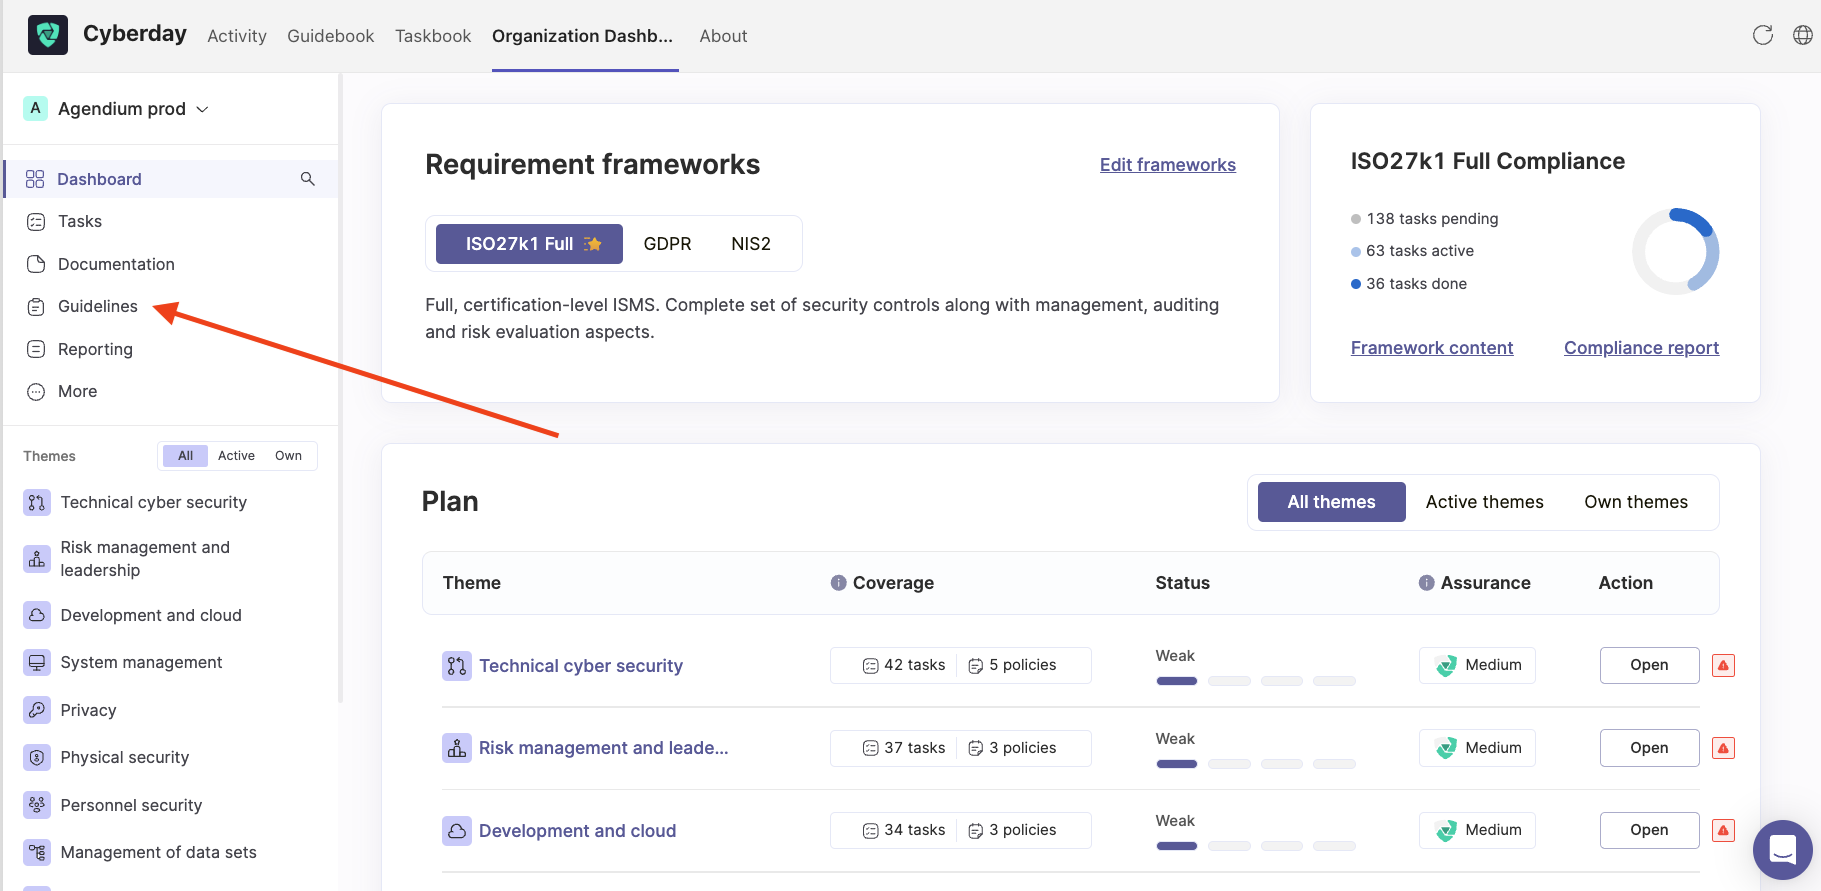
- Navigate from your organisation's dashboard to the wanted theme
- Select "Guidelines"
- In the top right corner, select "Add guideline"
- Set a category, title, description and owner for the new guideline
- Add training content to the guideline in the "Training content" section of the guideline
- Set the distribution of the guideline to all or to specific units


The "Show for all" option will apply to all employees in your account.
The "Show for selected units" option means that the guideline will only be targeted to selected units. You will be able to select the units you want after selecting the option. Read more about allocating employees to units.
You can edit existing guidelines using the edit button at the top right of the guideline.

Note! If your organisation needs guidelines in more than one language, you will have to write the self-created and edited tasks in the different languages yourself. The unedited guidelines will be translated into the languages set by the administrator in the settings.
Notifications of guidelines
Notices of guidelines to be read and approved are sent to employees on the first Monday of each month. However, when using Cyberday through Teams you can click the clock icon above the guideline and send the notification immediately.

The bot automatically distributes the guidelines
Once you have selected to distribute guidelines, the bot will get to work by doing the following:
- Provides case examples of the consequences of not following the guidelines (optional)
- Requests confirmation from employees that they have followed the guidelines
- Organise skills tests for employees when all the guidelines in the topic have been covered (optional)
For guidelines on how to add case examples and skills tests, you can find here
All guidelines list
You will find your personal guideline list from the "Guidelines" tab from the left menu in your Organization Dashboard.
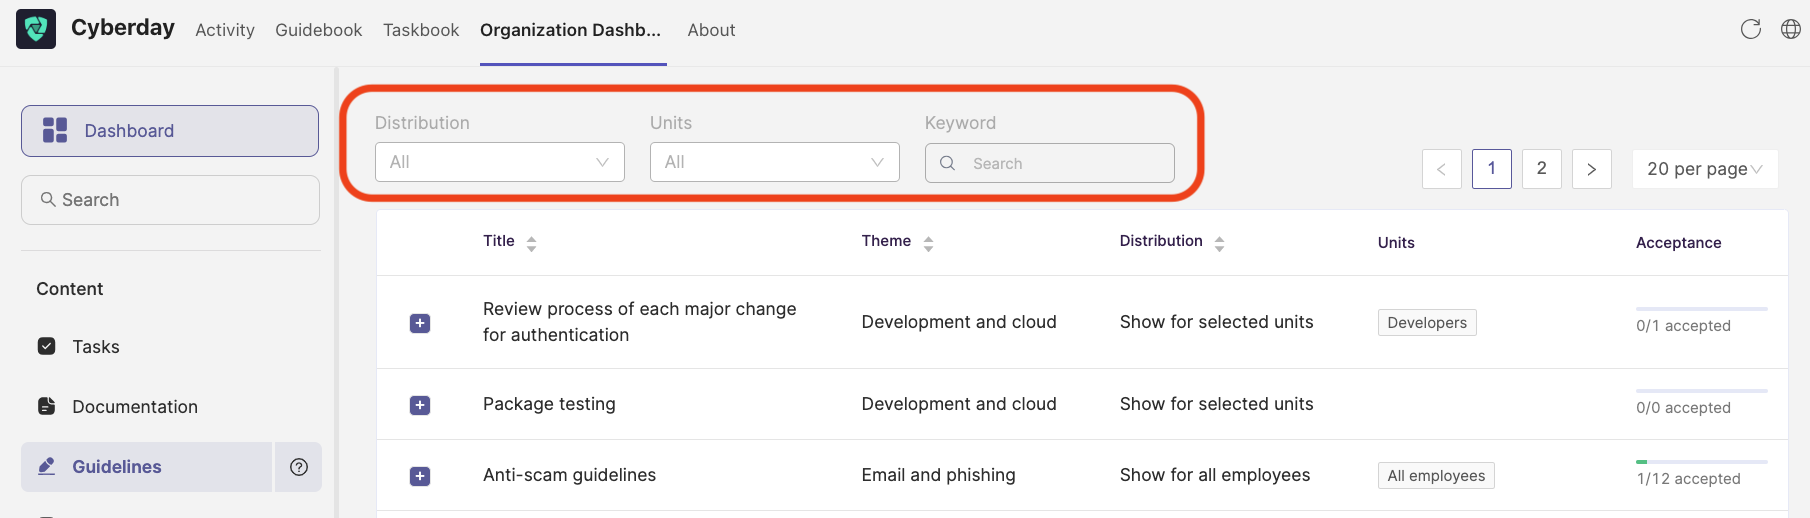
List Filters
Once you have opened the guidelines list, you can apply filters, if you want to search for example for guidelines that have been shared with specific units only or if you want to filter by the distribution. You can also search for specific keywords by using the keyword search function.
Guideline cards
Each guideline has a card with more details behind it, which will open if you click on the guideline in the list. You can use the suggestions from our library or create your custom guidelines. Each guideline can be adapted to your specific needs. You can see if guideline is fully custom or if it is from the library iin the lower right corner of the guideline card.

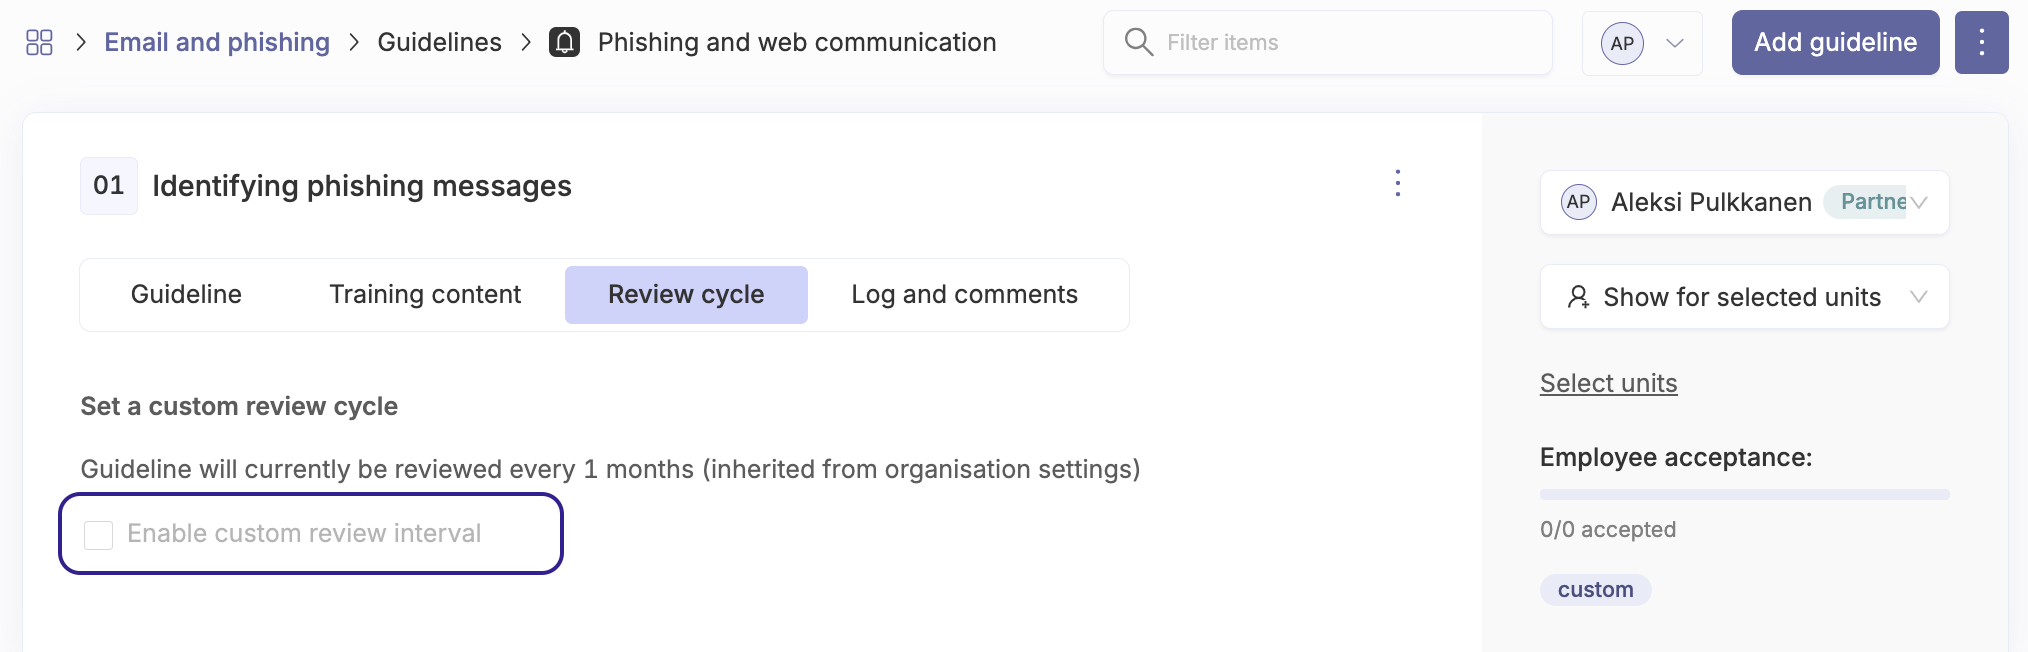
Each guideline card has four different tabs. The "Guideline" tab has the basic guideline, "Training content", where you can activate or create your own additional training content for your employee, "Review cycle", where you can enable a custom review cycle and the "Log and comments" tab, where you can find the general log and all potential comments and activities of the guideline.

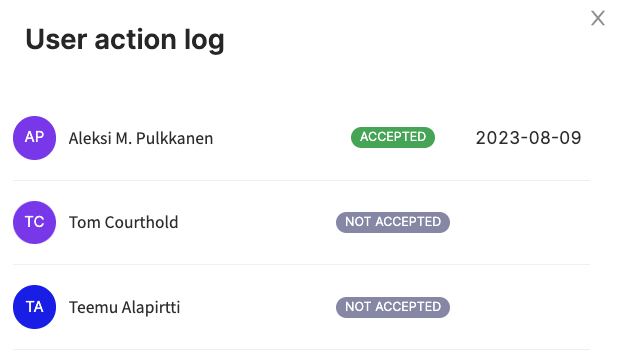
If you would like to view the guideline acceptance level, click on the purple text "Employee acceptance" and a list with the acceptance status and if accepted, also the acceptance date with the employee name will appear.
Setting the review cycle
In Cyberday it's possible to set review cycles for guidelines. The guidelines will be reviewed according to the frequency set for users, for example monthly or every six months. Each user has own individual review cycle, i.e. the review cycles starts from the day the guideline is approved.
Setting the review cycle in the settings
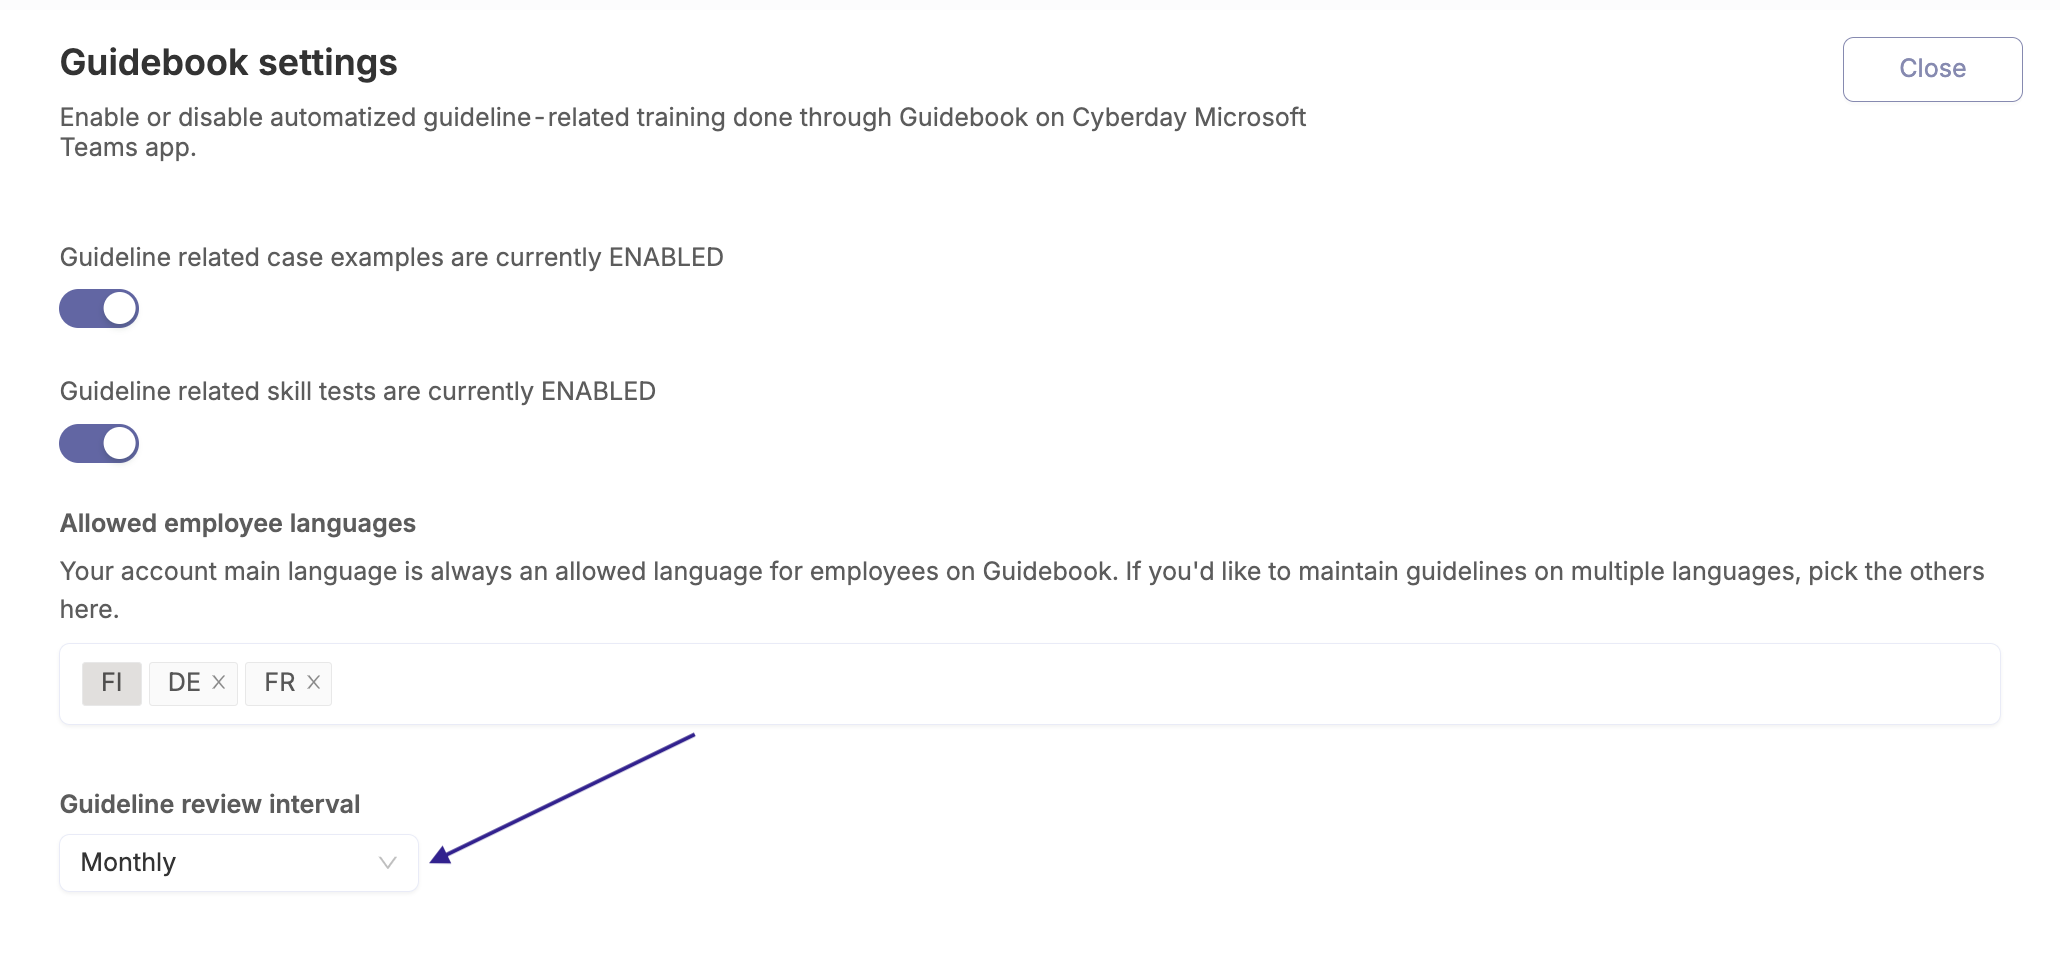
- Navigate to "Settings" on the Organisation's dashboard
- Select "Guidebook settings"
- Select "Guideline review interval"
- Select the wanted interval
Review cycle per guideline
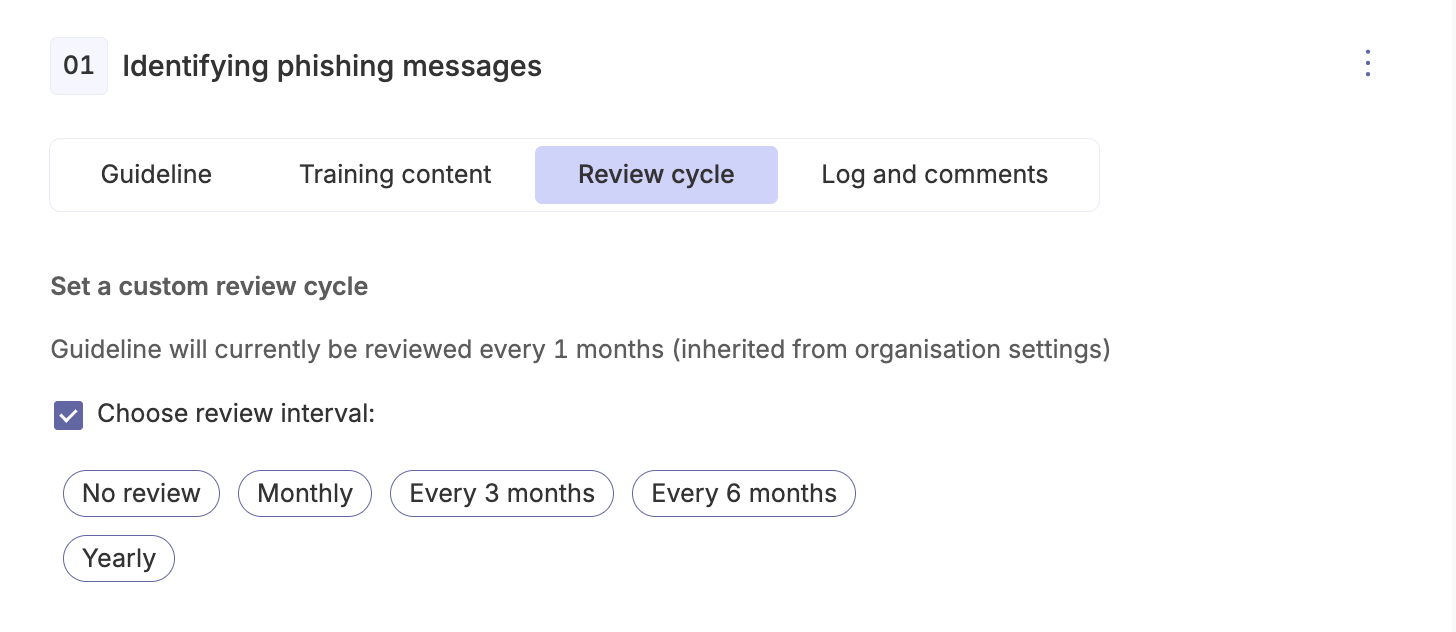
The review cycle per guideline is determined by the review cycle defined in the settings. However, it is also possible to change the review cycle per-guideline. This can be done for each guideline in the "Review cycle" section by selecting "Enable custom review interval". Review cycle per guideline can be deactivated.
Questions and feedback
Do you have any further questions, would need another help article or would like to give some feedback? Please contact our team via team@cyberday.ai or the chat box in the right lower corner.


